Tune4Mac M4P to MP3 Converter provides an easy and completed way to convert between various audio formats, such as convert m4p to mp3, m4a to mp3, drm protected audio to .wav or .aa format. One of featured function is that Tune4Mac software can convert M4P to MP3, WMA, WAV, OGG, M4A, AAC with the fast speed.

1. Why M4P format is protected?
M4P format is "protected AAC". It is a format of purchased music that can be listened to only through the iTunes softer or an iPod. It is commonly used for the DRM protected content in iTunes Store. iTunes Store sells billions of songs every single year, accounting for more than 80% of worldwide digital music sales, most of the songs are in the format of m4p. And these m4p songs are limited by Apple on the usage. That’s why so many m4p music owners are seeking solutions to free their purchased songs.
2. How to convert m4p to mp3 on mac?
After you install Tune4Mac M4P Converter in your computer, open Applications folder in Finder. Double-click the icon of Tune4Mac will run Tune4Mac M4P Converter Application.
Step 1. Download Tune4mac M4P Converter free
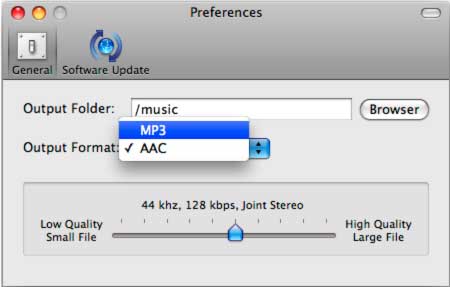
Step 2. Run Tune4Mac M4P Converter application, go to menu Tune4Mac M4P Converter > Preferences to set Output Folder, Output Format and Encoding Quality for converted files:
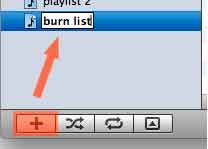
Step 3. Go to iTunes menu File > New Playlist to create a new playlist, or click the "+" button on bottom left of iTunes to add. You can also rename it as "burn list".
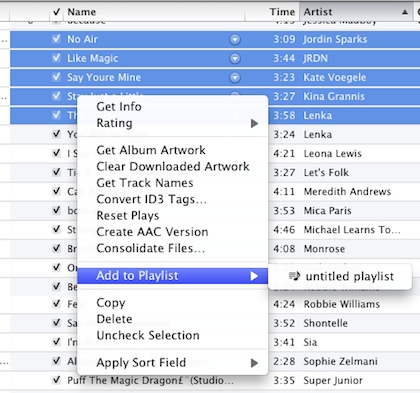
Step 4. Right-click on the music in your library, then click Add to Playlist menu item, and choose the file you want to burn. Press Shift or Ctrl to select more than one music files to the playlist at one time.
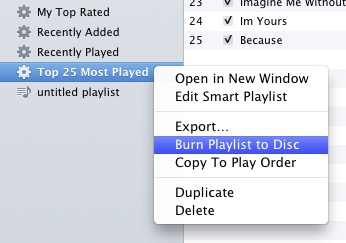
Step 5. Select the playlist containing the songs you want to burn, make sure all the songs you want to burn in the virtual CD have a checkmark beside them. Right-click on the selected playlist and choose Burn Playlist to Disc in the pop-up menu, or just click Burn Disc button in the bottom right of iTunes.
Step 6. In the Burn Settings window prompted, select Tune4Mac Virtual CD-RW as CD Burner and choose Audio CD as Disc Format. If you want the converted files to reserve track information like artist, album name, track number, you need to check Include CD Text as well:

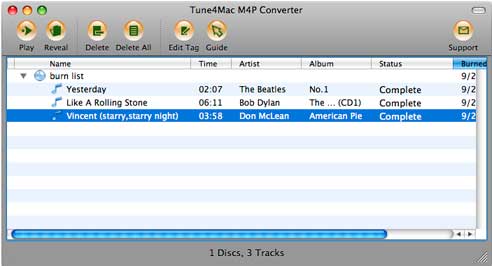
Step 7. Tune4Mac M4P Audio Converter starts burning and encoding:
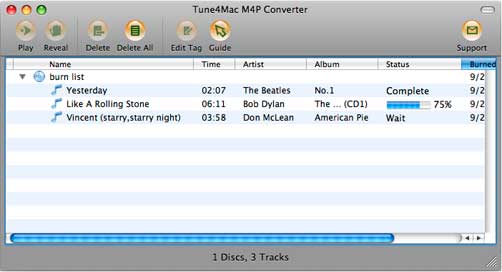
Step 8. When burning is finished, In main window of Tune4Mac M4P Converter application, you could find all converted music files are listed in the panel. Select a music file in the list, then click Reveal button to view the output files, or click Play to play it.